Family life
6 Cleaning Shortcuts Worth Using Carefully
Crumbs collect in drawer corners. A bin liner leaks. Someone leaves a crayon mark where a drawing wasn't meant to go. Small cleaning jobs can take more effort than their size suggests, especially if the first thing you try creates another mess.
These six ideas keep the useful parts of familiar household shortcuts while avoiding a few risky ones. Check the surface or appliance instructions, test products somewhere inconspicuous, and keep cleaners separate. Cleaning a surface and disinfecting it aren't the same job.
1. Catch a Small Bin Leak
Use a liner that fits the bin and replace it before the contents spill over. A little newspaper beneath a liner can absorb a minor drip, but it needs throwing away promptly if it gets wet. It doesn't replace washing and drying a dirty bin.
Check the bottom when you empty it, rather than covering an old leak with more paper. Let the bin dry before fitting a fresh liner. Keep waste containing sharp objects or leaking chemicals out of this improvised arrangement.
2. Use a Mop, Not Slippery Socks
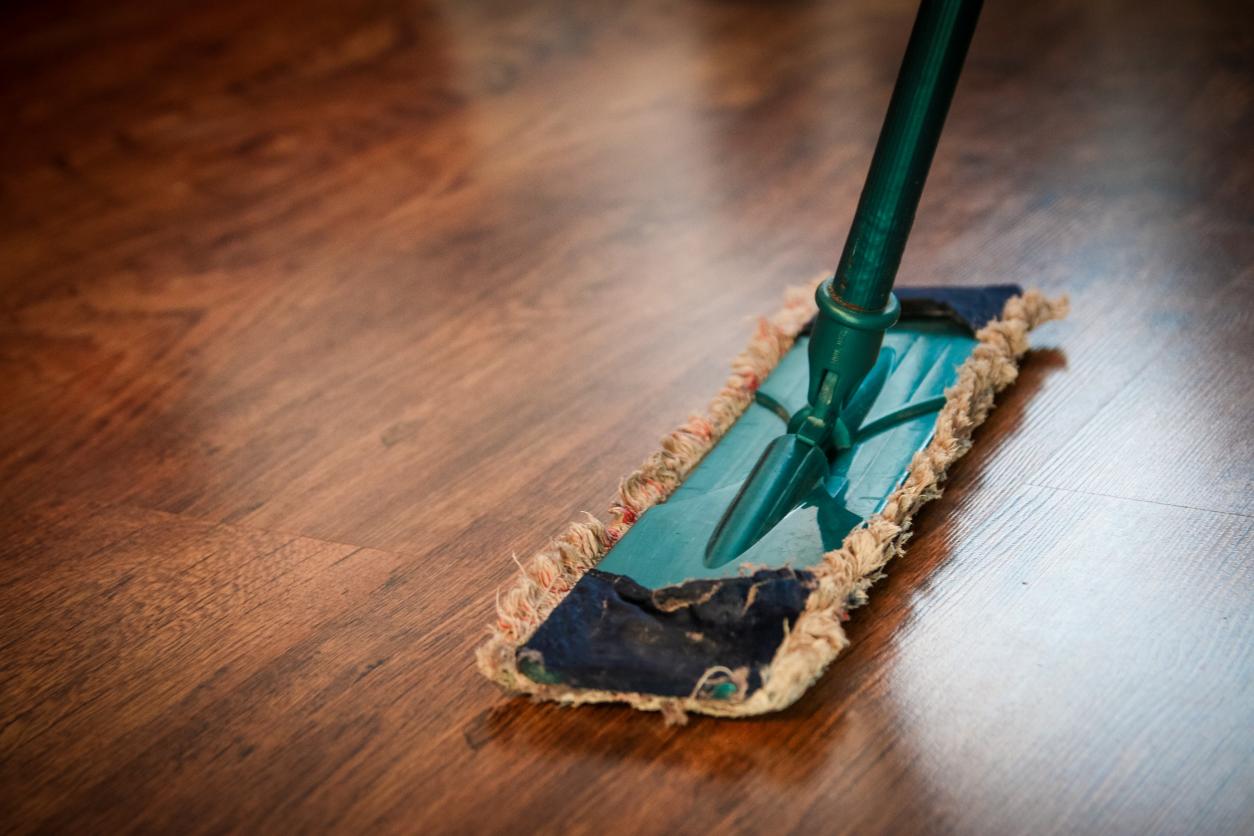
Moving around in socks on a wet floor adds a fall risk to an ordinary chore. Use a mop or a suitable floor-cleaning tool instead. Choose the cleaner recommended for your floor, work in small areas and keep people off the wet patch.
A vinegar-and-water mixture isn't right for every finish. Stone, wood and other materials have different care needs. Start with the floor maker's instructions, and don't leave puddles sitting around while you move to another room.
3. Clean Bedding Without the Vodka Spray
Vodka sprayed on a mattress isn't a dependable twenty-second disinfecting treatment. Wash removable bedding according to its labels, and check the mattress maker's guidance before vacuuming or spot-cleaning the mattress itself. Avoid soaking materials that can be difficult to dry.
If a surface needs disinfecting, use a product approved for that surface and observe its full label instructions, including contact time. Don't assume a quick mist is enough. Keep the area ventilated as directed and let it dry properly.
4. Vacuum the Crumbs First
Empty a drawer or cabinet before wiping it. A clean brush attachment or crevice tool can collect dry crumbs from edges that a cloth tends to push around. Check for small loose fittings and anything that shouldn't be vacuumed up.
Then wipe the surface with an appropriate cleaner and allow it to dry before replacing the contents. Doing the dry part first can save you from dragging wet crumbs into every corner.
5. Treat Crayon Marks Gently
Start with the wall finish's recommended cleaning method and a soft cloth. Test a hidden patch before working on a visible mark. Toothpaste and other abrasives can change paint's sheen or remove color, so they aren't a universal fix.
Stop if the finish starts coming away. A small touch-up may be preferable to turning one crayon line into a large scrubbed patch.
6. Follow the Blender's Cleaning Instructions
Some blenders can clean their containers by running water and a small amount of dish soap with the lid secured. Use your model's specified amounts, temperature and cycle. Unplug it before handling blades or cleaning by hand, keep fingers clear of sharp edges and never immerse the motor base.